This post is also available in: Bahasa Malaysia Bahasa Indonesia
How to install MYOB Accounting and MYOB Premier
This knowledgebase article has been updated with video tutorials that cover installation of the newer versions of ABSS Accounting and ABSS Premier.
To install MYOB, you need to have either the installation CD, or have downloaded the installation files on to your computer.
Downloaded files
If you downloaded the installation files, these would be in compressed or zipped format. You would first have to unzip or extract these files before you can begin the installation process.
Browse to the folder where you saved the download file then:
If you are using Windows 7, 8.1 or 10, do one of the following:
- To unzip a single file or folder, open the zipped folder, then drag the file or folder from the zipped folder to a new location, or
- To unzip all the contents of the zipped folder, press and hold (or right-click) the folder, select Extract All, and then follow the instructions.
Or, if you are using a compression utility like 7-Zip, select and right click the zipped file, then click on Extract files.

Installation CD
Insert the CD into your CD/DVD drive. The Autorun program is usually launched. If it does not, then browse to your computer, select the CD/DVD drive and double click on autorun.exe.


Windows will prompt if you want to allow the installation program to make changes to your computer.
Click on Yes.
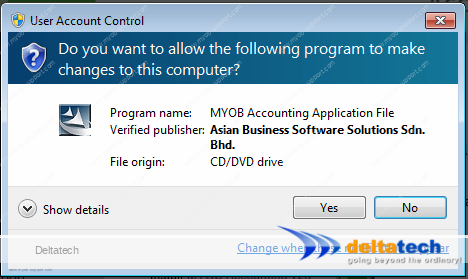
Once autorun starts, you will see the respective screens below:
MYOB Accounting
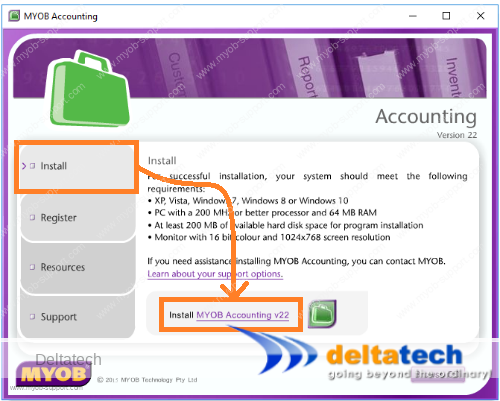
Click on Install MYOB Accounting
MYOB Premier
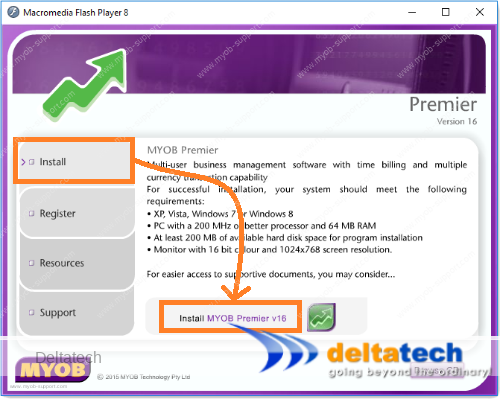
Click on Install MYOB Premier
Wait while MYOB prepares to install.
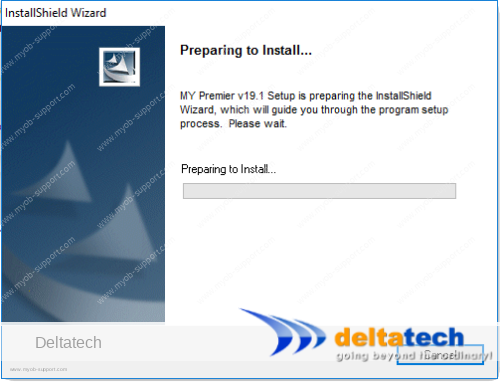
In the Welcome to install screen, click Next.
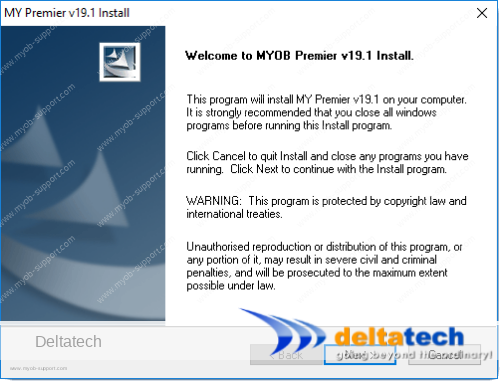
Accept the licence agreement and click Next
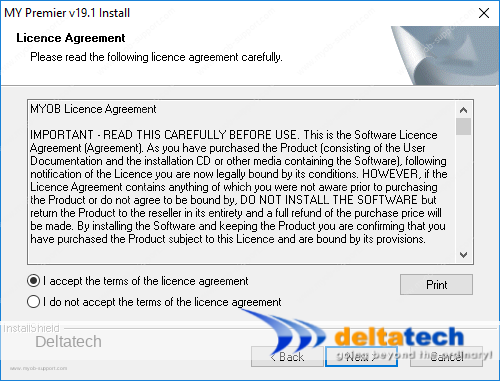
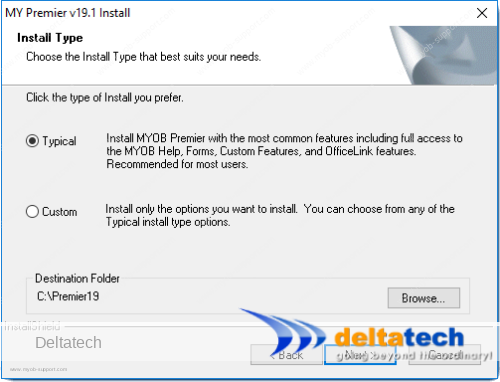
The next screen offers you the option of a typical or custom install.
Typical is selected by default, leave it at that. (see note below on Custom install)
Note that by default, the MYOB application is installed on your C:\ drive.
For example, in this image, Premier will be installed to C:\Premier19.
If you prefer to install it to a different location, click the browse button in the Destination folder section.
It is recommended for most installations to accept the default settings.
Click the Next button to proceed.
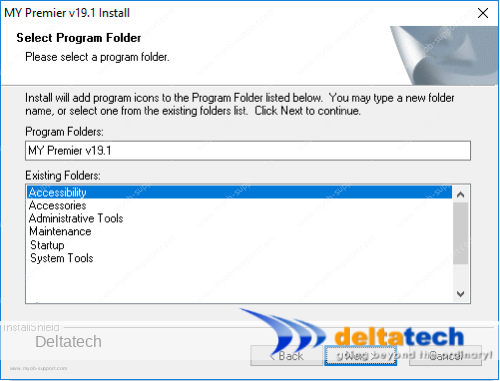
In the next screen, you will be asked to select the program folder to which MYOB will add the program icons.
By default, the application name is used.
Accept this and click Next.
Review the settings in the following screen and click Next.
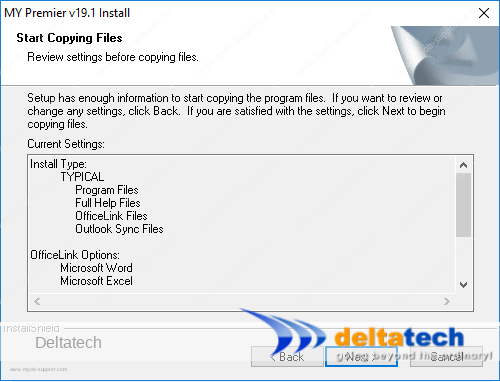
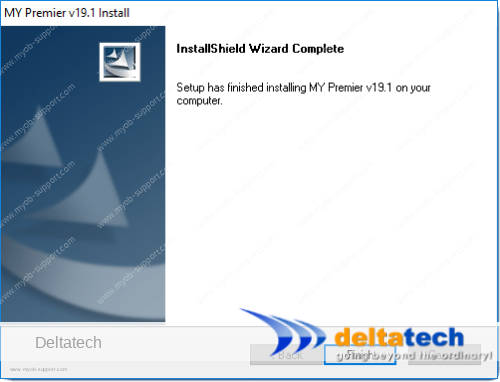
The installation process will commence, and when completed, you will see this screen.
Click on Finish.
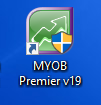
After installation is complete, you will find the application icon on your Desktop.
Double click on this to start your MYOB application.
MYOB Custom install options
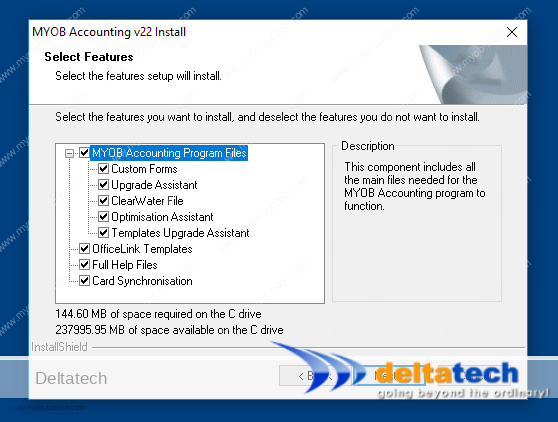
The Custom setting allows you to select which features you would like to have installed on your computer.
Typical installs all the features shown here.
If you prefer not to install a feature, select Custom, click Next, then deselect the feature(s) you do not wish to have.
As mentioned above, for most installations, leave the setting at typical.
Archives – MYOB
MYOB Accounting & MYOB Premier
- Upgrading MYOB Accounting and MYOB Premier
- Creating a new company file in MYOB
- Accounts
- Banking
- Sales
- Purchases
- Inventory
- Card file
- End of period processing in MYOB
- Data security/integrity


